
How To
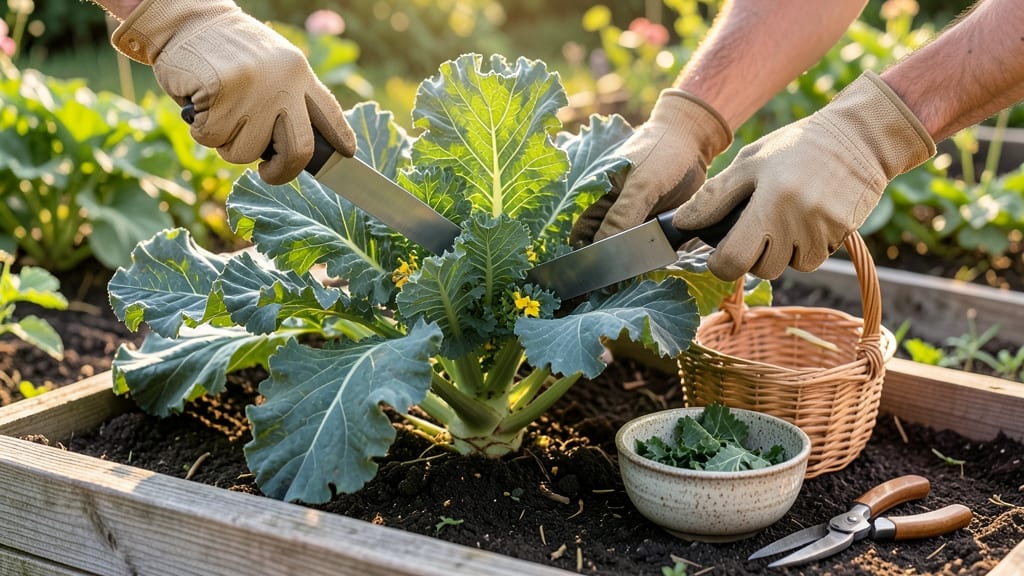
To pick kale from your garden at the perfect moment means tender, flavorful leaves that keep coming back for weeks—no more bitter, tough harvests!
I’ve watched my 🥬 kale go from crisp and sweet to woody in just a few days, and the difference comes down to timing. The key is knowing when those leaves are ready to harvest while leaving enough behind to keep the plant producing.
You’ll learn how to spot the ideal size, texture, and color of kale leaves—plus the best way to cut or pluck them without damaging the plant. Avoid common mistakes that turn your harvest into a disappointment.
By the end, you’ll have a foolproof method for harvesting young, vibrant kale that stays fresh longer and keeps growing for your next meal.
Visual ripeness tests to pick kale at peak freshness
Kale thrives when harvested at the right growth stage, ensuring tender leaves with maximum flavor. The key is focusing on young outer leaves—these are the most delicate and flavorful. Unlike mature leaves that can become tough and bitter, young leaves stay crisp and sweet when picked early.
I’ve learned that color, texture, and leaf size are the three best indicators of ripeness, and mastering these tests will transform your harvests.
Start by examining the leaf color. Perfectly ripe kale leaves should be deep green, purple, or red, depending on the variety. Avoid leaves with yellowing edges or pale spots, as these signal stress or nutrient deficiencies.
For example, my Lacinato kale turns a stunning blue-green when ready, while Red Russian kale develops rich crimson hues. A vibrant color means the leaves are packed with nutrients and ready to eat.
Next, check the leaf texture. Gently squeeze a leaf between your fingers—if it feels firm but pliable, it’s ideal for harvesting. Woody or fibrous stems mean the leaf has matured past its prime, while overly soft leaves may be overripe.
I always test the youngest outer leaves first, as these are the most tender. Pro tip: If the leaf snaps cleanly when bent slightly, it’s at peak ripeness.
Don’t overlook the leaf size as a ripeness indicator. Young kale leaves should be 6-12 inches long and fully unfurled but not oversized. Oversized leaves often develop tougher stems and bitter flavors.
In my garden, I harvest leaves when they’re about 8-10 inches long—this ensures they’re large enough to use but still tender. Smaller leaves are fine too, especially for salads or garnishes.
| Ripeness Test | What to Look For | Action |
|---|---|---|
| Leaf Color | Deep green, purple, or red (no yellowing) | Harvest if vibrant; discard pale or yellow leaves |
| Leaf Texture | Firm but pliable (snaps cleanly when bent) | Pick tender leaves; avoid woody or fibrous stems |
| Leaf Size | 6-12 inches long, fully unfurled | Harvest at 8-10 inches for best tenderness |
| Growth Stage | Young outer leaves (not mature center leaves) | Prioritize outer leaves to encourage regrowth |
| Stem Condition | Tender and flexible (not hard or woody) | Cut or pluck leaves with tender stems only |
Seasonal timing also plays a role in ripeness. In spring and fall, kale grows quickly and reaches harvest readiness in 45-60 days. During winter months in mild climates, growth slows, but the leaves still develop flavor over time.
I’ve found that fall-harvested kale often tastes sweeter after a light frost, thanks to natural sugar concentration. Always pick on dry, sunny mornings to avoid handling wet leaves, which can lead to rot.
One of my biggest mistakes was waiting too long to harvest, thinking bigger leaves meant better flavor. But over-mature leaves become tough and bitter—a lesson I learned the hard way! Now, I harvest outer leaves first, leaving the inner leaves to grow.
This method ensures a continuous supply of tender kale without damaging the plant. Plus, it encourages the plant to produce even more leaves, giving you a longer harvest window.
For curly kale varieties, focus on the loosest, most open leaves—these are the youngest and most tender. If the leaves are tightly curled, they’re not yet ready. I also avoid harvesting leaves with visible insect damage or holes, as these can spread to other parts of the plant.
Instead, I remove only the healthiest, most vibrant leaves, ensuring the rest of the plant stays productive.
Pro tip: Use a sharp pair of scissors or pruning shears to cut leaves 1-2 inches above the stem. This prevents tearing and encourages new growth. I’ve seen gardeners pluck leaves by hand, but this can damage the stem and slow regrowth.
Always leave at least half the plant intact to keep it producing for weeks. With these tests, you’ll never overlook a perfect kale leaf again!
Finally, store harvested kale properly to maintain its freshness. Wrap leaves in a damp paper towel and place them in a perforated plastic bag in the fridge. This keeps them crisp for up to 5-7 days.
For longer storage, try freezing blanched leaves—this preserves their color and nutrients for months. By mastering these ripeness tests, you’ll enjoy a steady supply of homegrown, garden-fresh kale all season long.
Best harvesting techniques for young kale leaves without damaging the plant
Harvesting young kale leaves the right way keeps your plants healthy and productive for months. The key is to use gentle techniques that encourage regrowth while avoiding stress. I’ve learned that cutting leaves at the right angle and timing makes all the difference in maintaining a thriving kale plant.
Start by selecting the largest, most mature outer leaves first—this protects the plant’s center while giving you tender harvests. Young leaves are ideal for salads, while slightly older leaves work better for cooking. The goal is to pick leaves that are 6-12 inches long but still flexible, not woody.
Timing matters too. Early morning harvests yield the crispest leaves, as they’re fully hydrated from overnight watering. Avoid picking during hot afternoons or after heavy rain, which can stress the plant and lead to bitter flavors. Seasonal timing is also crucial—spring and fall provide the best conditions for tender harvests.
Never cut into the center stem—this kills the plant. Instead, use clean scissors or pruners to snip leaves 1-2 inches above the base. Over-picking leaves can stunt growth, so leave at least half the plant intact for regrowth. Avoid tugging leaves by hand, as this can tear stems and invite pests.
For continuous harvests, I recommend cutting leaves in a diagonal angle just above a leaf node. This promotes bushier growth and prevents disease by allowing water to run off cleanly. Always use sterilized tools to prevent bacterial or fungal infections that can turn leaves yellow or slimy.
After harvesting, let the leaves dry briefly in the shade before storing. This prevents moisture buildup, which can cause rot. In mild climates, kale plants can keep producing for 6-8 weeks with proper care.
If frost threatens, harvest the entire plant before temperatures drop below 20°F, as frozen leaves turn bitter.
With these techniques, I’ve extended my kale harvests from a few weeks to nearly three months. The secret is patience—let the plant recover between harvests, and it’ll reward you with tender, flavorful leaves all season long. Happy harvesting! 🌱