
Picking
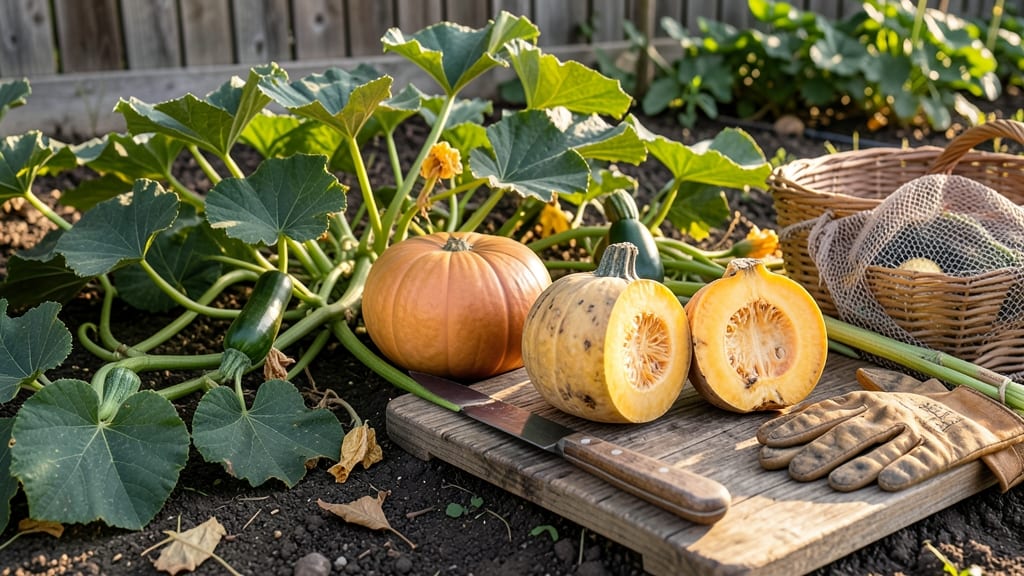
To pick squash from your garden at the perfect moment, watch for deep color, a hard skin, and a stem that snaps cleanly—these are the three key signs of ideal ripeness that turn a good harvest into a great one.
Picking too early means watery, bland squash that falls apart when cooked, while waiting too long risks tough skin and bitter seeds. I’ve learned the hard way that even a one-day delay can turn a zucchini into a rock-hard mess.
Summer squash like zucchini and yellow crookneck are ready in just 50 days, while winter varieties like butternut need 90 days or more to reach peak flavor. The thumb-press test is your secret weapon—here’s how to use it right.
Below, I’ll break down the exact timing for different types, how to test for doneness, and what to do if you miss the window. No more guesswork—just perfect, meal-ready squash every time.
How to use the thumb-press test for squash ripeness
Determining the perfect time to harvest squash can feel like guessing, but the thumb-press test is my go-to trick for nailing ripeness every time.
This simple method works for both summer squash (like zucchini) and winter squash (like butternut), giving you a foolproof way to avoid bitter, seedy, or overly soft harvests. The test relies on the skin's resistance to pressure, which changes dramatically as squash mature.
Before you grab your squash, understand that variety matters. Summer squash should be harvested young and tender, while winter squash needs time to develop a hard, thick rind. The thumb-press test adapts to both, but the pressure point and expected feel differ.
For summer squash, you’ll want a firm but slightly yielding feel, while winter squash should feel almost rock-hard when ripe.
Here’s how to perform the test correctly every time, plus visual and tactile cues to confirm ripeness:
Step-by-Step Thumb-Press Test
- Step 1: Choose a mature-sized squash (e.g., 6–12 inches for zucchini, 8–12 inches for yellow squash). Ignore smaller ones—they’re not ready yet.
- Step 2: Press your thumbnail firmly into the squash’s skin. Use the side of your nail, not the tip, for consistent pressure.
- Step 3: For summer squash, the skin should yield slightly (like pressing a ripe avocado). If your nail leaves a dent, it’s underripe.
- Step 4: For winter squash, the skin should resist deeply. If your thumbnail doesn’t leave a mark, it’s not ripe enough. Wait 3–5 more days.
- Step 5: Check the stem end. For summer squash, it should snap easily when twisted. For winter squash, the stem should dry and harden.
- Step 6: Confirm with color and size. Ripe squash will have vibrant, even coloring (deep green, yellow, or orange) and no soft spots.
Pro tip: Perform the thumb-press test on the side of the squash, not the blossom end, where skin can be thinner and misleading. The equator of the squash (midway between stem and blossom end) is the best spot for accuracy.
This area is where the skin is thickest and most indicative of ripeness.
If your squash passes the thumb-press test but still feels uneven or lopsided, it might be overripe. Overripe squash often develops soft spots or a wrinkled rind, and the seeds inside become large and bitter.
For summer squash, this means harvesting earlier next time. For winter squash, overripe fruit can still be used in soups or baked goods, but the texture won’t be ideal.
For winter squash varieties like butternut or acorn, combine the thumb-press test with a sound test. Tap the squash gently—ripe winter squash produces a hollow, echoing sound, while unripe ones sound dull.
This extra step ensures you’re harvesting at peak flavor and storage potential. Store winter squash in a cool, dry place (50–55°F) for up to 3 months.
One common mistake I see is harvesting too late because the squash looks big. Size alone isn’t enough! A 12-inch zucchini that’s soft when pressed is past its prime.
Always pair size with the thumb-press test and stem condition. If the stem is still green and flexible, the squash isn’t ready—wait a few more days.
For bush varieties (like compact zucchini), the thumb-press test is even more critical because these plants produce fruit faster and in clusters. Check the smallest squash first—it’s often the ripest.
In contrast, vining varieties (like spaghetti squash) give you more time to test, but don’t delay too long or the vines will become overburdened.
Remember, the thumb-press test is your best defense against wasted squash. With practice, you’ll develop a feel for the perfect pressure and can harvest with confidence.
Once you master it, you’ll never again end up with a shriveled, seedy mess or a rock-hard winter squash that’s tough to cut. Happy harvesting! 🎃
Signs of overripe vs underripe squash (and how to fix it)
Even experienced gardeners sometimes struggle to tell when squash is perfectly ripe versus overripe or underripe. The difference isn't just about texture—it affects flavor, storage life, and even seed development. Overripe squash becomes stringy, bitter, and seedy, while underripe squash lacks sweetness and has thin, watery flesh.
Let’s break down the key indicators so you can salvage your harvest instead of tossing it.
First, examine the skin hardness and color. A ripe squash should feel firm but slightly yielding when pressed with your thumbnail—like a ripe cantaloupe. If the skin gives way too easily (underripe) or feels dry and cracked (overripe), it’s time to act.
For summer squash like zucchini, the skin should be deep green and glossy, while winter squash like butternut should have a rich, uniform color without green stem ends.
Next, check the stem and vine connection. A ripe squash will have a stem that snaps cleanly when twisted, while an underripe one will resist. Overripe squash often shows a withered stem or vine separation, signaling it’s past its prime.
If you see soft spots or mold, your squash has gone bad and should be composted immediately.
Overripe vs Underripe Squash: Quick Fixes
- Skin: Dry, cracked
- Flesh: Stringy, bitter
- Seeds: Large, hard
- Fix: Use in soups/stews (peel first)
- Skin: Soft, dull
- Flesh: Thin, watery
- Color: Pale, uneven
- Fix: Cook longer or let ripen on counter
For underripe squash, the good news is you can often salvage it. Place it in a paper bag with a ripe banana or apple to speed up ripening (the ethylene gas helps).
Check daily—it may take 3-5 days to reach ideal texture. If the squash is already too small, consider cooking it whole to concentrate its mild flavor, like roasting or grilling.
When squash is overripe, focus on peeling and cooking to remove bitter compounds. Try blending into soups, baking into bread, or fermenting into pickles. Avoid eating raw—stringy flesh and large seeds make it unpalatable.
For winter squash, overripe varieties like pumpkins can still be carved or used for seasonal decorations if they’re too far gone for eating.
Prevent future mistakes by harvesting regularly. Squash vines produce rapidly, so check plants every 2-3 days during peak season. If you’re overwhelmed by a sudden squash glut, freeze or pickle extras immediately.
And remember: smaller squash tastes sweeter—don’t wait for giant specimens unless you’re growing them for storage or decoration.