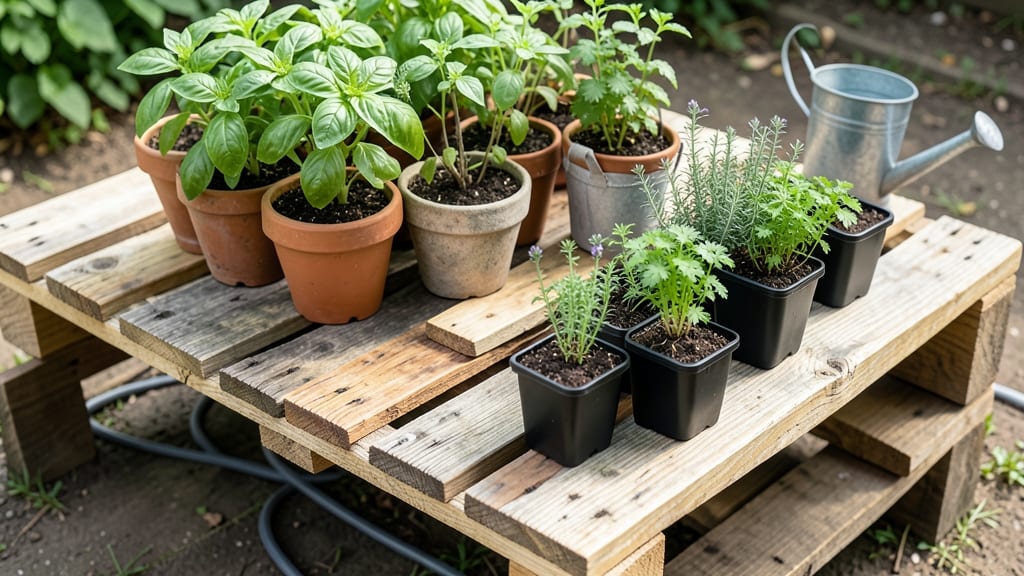
A pallet gardening table turns scrap wood into a stylish, space-saving garden that fits balconies, patios, or even windowsills—without breaking the bank or the earth.
Picture this: a 3-foot-tall table made from two pallets, stacked and reinforced, brimming with herbs, cherry tomatoes, and peppers. No sprawling yard needed—just a few hours of assembly and a handful of plants to transform dead space into a mini farm.
I built mine last spring, and now my neighbors ask for tips every time they see it overflowing with greens.
Why go through the hassle? Because these tables are portable, sustainable, and perfect for small spaces. You can move them for sunlight, protect them from rain, or even take them indoors during cold snaps.
Plus, they’re customizable—paint them, add wheels, or stack them vertically for even more growing room.
Below, I’ll walk you through 12 designs, from rustic farmhouse styles to sleek modern builds, plus the easiest plants to grow in them. Ready to turn pallets into your next garden game-changer?
12 Creative pallet gardening table designs for small spaces
Limited space shouldn’t stop you from growing your dream garden. Pallet gardening tables offer the perfect solution—compact, customizable, and portable. Whether you have a balcony, patio, or windowsill, these 12 designs maximize every inch while keeping costs low.
The best part? You can repurpose wooden pallets already sitting in your garage or local recycling center.
From vertical towers to tiered tables, each design prioritizes space efficiency and plant compatibility. We’ll cover materials, assembly tips, and plant pairings to help you choose the perfect setup. Whether you’re growing herbs, veggies, or flowers, there’s a pallet design that fits your needs—and your space!
🌱
| Design Name |
Footprint |
Height |
Best For |
Materials Needed |
| Vertical Pallet Tower |
12" x 12" |
48" |
Herbs, leafy greens |
2 pallets, screws, landscape fabric |
| Tiered Pallet Planter |
24" x 12" |
24" |
Succulents, dwarf veggies |
1 pallet, plywood, brackets |
| Hanging Pallet Basket |
18" x 12" |
12" |
Trailing plants, strawberries |
1 pallet, wire mesh, rope |
| Pallet Bench Garden |
36" x 12" |
18" |
Tomatoes, peppers |
2 pallets, sandbags, lumber |
| Pallet Greenhouse |
30" x 24" |
36" |
Seedlings, microgreens |
3 pallets, plastic sheeting, hinges |
| Pallet Wine Rack Planter |
20" x 12" |
42" |
Vining plants, beans |
1 pallet, wooden slats, screws |
| Pallet Corner Planter |
18" x 18" |
24" |
Flowers, small veggies |
1 pallet, corner brackets, wire |
| Pallet Window Box |
12" x 6" |
12" |
Herbs, flowers |
½ pallet, paint, mounting brackets |
| Pallet Stacked Planters |
18" x 18" |
36" |
Succulents, cacti |
3 pallets, gravel, sand |
| Pallet Mobile Cart |
24" x 24" |
30" |
Potted plants, seedlings |
2 pallets
How to build a sturdy pallet gardening table in 4 simple steps
Building a pallet gardening table is one of the most rewarding DIY projects for urban gardeners. With just a few basic tools and materials, you can transform a simple wooden pallet into a functional, portable garden that fits perfectly on patios, balconies, or even your driveway.
The best part? This project costs less than $30 and takes under two hours to complete.
Before you start, gather your supplies: a heat-treated pallet (check for "HT" stamp), landscape fabric, potting soil, and basic hardware like screws or brackets. Avoid pressure-treated pallets—they can leach chemicals into your soil.
For extra stability, I always reinforce the base with 2x4 lumber to prevent wobbling when watering or harvesting.
Step-by-Step Pallet Gardening Table Build
-
1
Prep the Pallet: Sand rough edges and remove any loose nails or splinters. Lay the pallet flat and use a level to ensure it's even. If needed, adjust by adding shims underneath.
-
2
Reinforce the Structure: Attach 2x4 lumber to the underside of the pallet's long sides using deck screws (3 screws per board). This creates a sturdy base and prevents warping over time.
-
3
Add Drainage: Line the pallet with landscape fabric to prevent soil from falling through the gaps. Poke small holes in the fabric at the corners for excess water drainage. Place a tray or saucer underneath to catch runoff.
-
4
Fill and Plant: Add a 2-3 inch layer of gravel at the bottom for extra drainage, then fill with high-quality potting mix. Leave 1-2 inches of space at the top to prevent spillage. Plant your compact vegetables, herbs, or flowers in the prepared soil.
When building your table, avoid these common mistakes: using untreated pallets, skipping the drainage layer, or overfilling the pallet with soil. I once forgot to reinforce the base, and my table wobbled so badly I nearly spilled my entire basil harvest! Always test your table's stability before planting.
For extra flair, paint the pallet with non-toxic exterior paint or wrap it in burlap for a rustic look. Add wheels to the base for easy movement, or stack multiple pallets vertically to create a tiered garden.
With proper care, your pallet gardening table will last for years and produce bountiful harvests with minimal space.
Once your table is built, place it in a spot with at least 6 hours of sunlight daily. Water deeply in the morning to keep roots hydrated, and add a layer of mulch to retain moisture.
In no time, you'll have a thriving garden that’s as functional as it is stylish! 🌱
★★★★★5.0(3 reviews)
|