
Picking
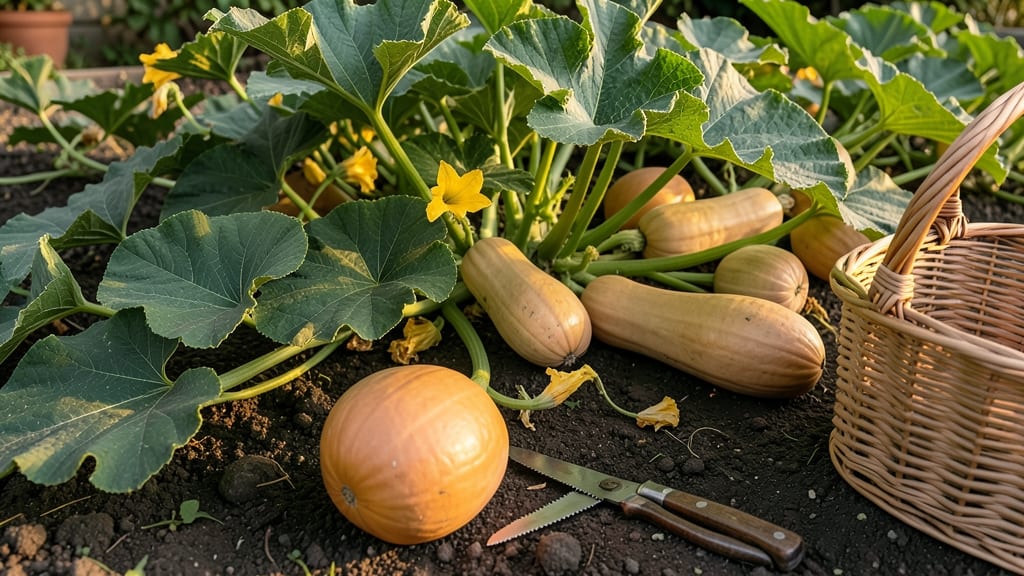
To pick butternut squash from your garden at the perfect time means capturing sweetness, texture, and storage potential—all of which fade if you wait too long.
Imagine slicing into a squash that’s still mealy inside or discovering your harvest spoiled before winter, all because you missed the ideal window. Butternut squash 🎃 doesn’t ripen further after picking, so timing is everything.
In Zone 6a, your best bet is late September to October, when the rind hardens and the stem dries. But color, weight, and even the vine’s condition all play a role—here’s how to spot the exact moment to harvest.
Below, I’ll walk you through the 3 key visual cues that guarantee peak flavor, plus how to store your harvest so it lasts through the holidays.
3 Visual cues to identify perfectly ripe butternut squash for harvesting
Butternut squash reaches its peak flavor and storage potential when harvested at the right moment—but knowing exactly when that is can be tricky. Unlike some fruits, you can't rely on a simple color change alone.
Instead, I've learned to look for three key visual cues that tell me the squash is ready to pick. These indicators help me avoid both underripe squash (which is tough and bland) and overripe squash (which can spoil quickly).
One of the biggest mistakes I made early on was harvesting based on size alone. I thought bigger always meant better, but that led to squash that was past its prime. Now, I combine all three visual cues to ensure I'm picking at the perfect moment.
The good news? You don't need to cut into the squash to check—just use your eyes and hands to assess these three simple signs.
🎃 How to Check Ripeness Without Cutting In
- 1. Rind Color: Look for a deep, maturing tan or beige hue (not green). The skin should feel hard and tough—like a thick piece of paper—when pressed gently with your thumbnail. ✅ Pro Tip: The neck (where the stem attaches) should be fully tan, not green.
- 2. Stem Condition: The stem near the fruit should be dry, shriveled, and brown. If it's still green or moist, the squash needs more time. A fully dried stem indicates the squash has finished maturing on the vine. ⚠️ Warning: Never pick if the stem is still attached tightly—this can damage the squash.
- 3. Size & Weight: A ripe butternut squash feels surprisingly heavy for its size. Lift it gently—if it feels light, it's not ready. Aim for 3-5 pounds, but focus more on density than exact weight. The shape should also be fully developed, with no soft spots when squeezed lightly. 💡 Insight: Overripe squash may have a hollow sound when tapped.
I always check the rind color first because it's the most obvious sign of ripeness. Early in the season, my squash might have green patches, but as they mature, those fade to a warm tan.
One year, I almost picked too early because I missed the stem condition—it was still slightly green, and the squash didn't store well. Now, I make it a habit to inspect all three cues before harvesting.
The stem condition is often overlooked, but it's one of the most reliable indicators. A dried, brown stem means the squash has fully matured and is ready for harvest.
I've found that squash with green stems often continue to ripen off the vine, but they rarely reach their full sweetness potential. If you're unsure, wait 2-3 more days and check again—patience pays off with better flavor.
Don't underestimate the importance of size and weight. A ripe butternut squash should feel dense and solid, not hollow or lightweight. I test this by lifting the squash in my hand—if it feels heavy for its size, it's ready.
One trick I use is to compare it to a similar-sized squash I know is ripe. This helps me gauge whether mine is on track or needs more time on the vine.
Timing is everything when it comes to harvesting butternut squash. If you pick too early, the squash won't develop its full sweetness or store well. If you wait too long, it can become overripe and develop soft spots or rot.
I usually harvest mine in late September to early October, just before the first frost. In warmer climates, you might extend this window into November, but always aim to harvest before temperatures drop below 40°F (4°C).
One common mistake I see is harvesting based on the vine's condition. While yellowing vines can signal ripeness, don't rely on them alone. Some squash varieties mature faster than others, and environmental factors like temperature and water availability can affect ripening times.
Always double-check the visual cues I mentioned earlier—your eyes and hands are your best tools for determining ripeness.
After harvesting, I cure my butternut squash for a few days in a warm, dry place. This process enhances flavor and extends storage life. But first, you need to pick at the right time.
If you miss the visual cues, you might end up with squash that's either too tough or too soft. The key is to combine all three indicators: rind color, stem condition, and size/weight.
When all three align, you know you've got a perfectly ripe squash ready for harvest.
Remember, the goal is to pick squash that's at its peak flavor and storage potential. By mastering these three visual cues, you'll never have to guess again. Happy harvesting! Your future meals—and your pantry—will thank you. 🎃
How long butternut squash stays fresh after harvest: storage tips by ripeness stage
Once you've picked your butternut squash at the perfect moment, proper storage can extend its shelf life from just a few weeks to 3-6 months.
The key lies in understanding how ripeness affects storage potential and following precise curing and environmental conditions. Overripe squash spoils quickly, while properly cured and stored squash maintains its sweetness and texture for months.
Your butternut squash storage success starts with a 2-week curing process after harvest. This step hardens the skin, concentrates sugars, and prevents rot. Place whole squash in a warm, dry location (70-85°F) with good air circulation for 10-14 days.
Avoid direct sunlight during curing, as this can cause uneven drying or sunburn spots.
| Ripeness Stage | Storage Duration | Ideal Conditions | Key Tips |
|---|---|---|---|
| Perfectly Ripe | 3-6 months | 50-55°F, 50-70% humidity | Cure 10-14 days first |
| Early Harvest | 2-4 weeks | 45-50°F, 70-80% humidity | Store in fridge, use quickly |
| Overripe | 3-7 days | Room temp, high humidity | Use immediately or compost |
After curing, move your butternut squash to long-term storage in a cool, dark environment like a basement or root cellar. Maintain 50-55°F temperatures and 50-70% humidity to prevent moisture loss or rot.
Store squash in a single layer on wooden shelves or pallets to allow air circulation and prevent fungal growth.
For shorter-term storage (up to 2 weeks), keep squash in your fridge's crisper drawer at 40-45°F. Wrap cut squash tightly in plastic wrap or aluminum foil to slow oxidation.
Remember that refrigerated squash loses some of its natural sweetness over time, so enjoy it within 1-2 weeks for best flavor.
Never store butternut squash in the freezer until you've cooked it first. The high water content causes ice crystals that create a mushy texture. If you must freeze, roast or bake the squash first, then portion and freeze in airtight containers for up to 8 months of frozen storage life.
Regularly inspect your stored squash for signs of spoilage like soft spots, mold, or foul odors. Remove any affected squash immediately to prevent contamination of your entire harvest. With proper curing and storage conditions, your butternut squash can provide homegrown goodness throughout the winter months.