
Tools
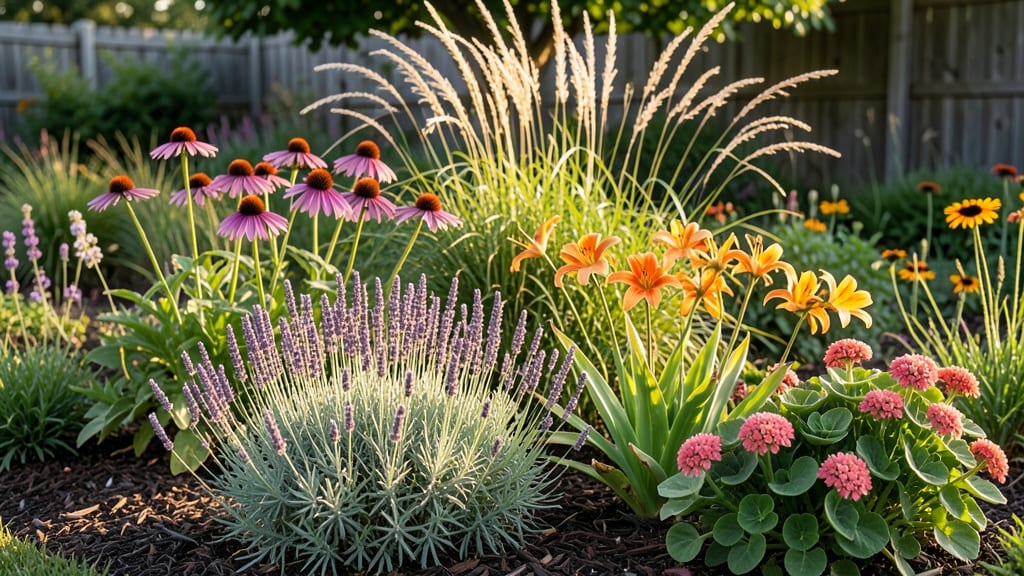
Finding the best place for a garden isn’t just about clearing a patch of dirt—it’s about unlocking the perfect conditions for your 🌱 plants to flourish, whether you’re in a cozy backyard or a tiny urban balcony.
Struggling to decide where to plant your garden? The right location can mean the difference between thriving plants and wasted effort—here’s how to find the perfect spot.
Sunlight, soil, and space are the holy trinity of garden success. Too much shade? Your tomatoes will stretch like they’re auditioning for a ballet. Too little soil depth?
Your roots will fight for every inch. And if you’re working with limited square footage, creative layouts can turn a postage-stamp yard into a thriving oasis.
Below, I’ll break down how to assess your yard’s sunlight patterns, test your soil like a pro, and maximize every inch—so you can finally stop guessing and start growing.
How sunlight exposure determines your garden’s success
Sunlight is the single most critical factor in your garden’s success. Without the right amount, even the hardiest plants will struggle to thrive. I’ve learned the hard way—my first tomato plants wilted because they sat in partial shade instead of full sun.
The key is understanding how much light your plants truly need and matching them to your yard’s unique conditions.
Most plants fall into three sunlight categories: full sun (6+ hours daily), partial shade (3-6 hours), or full shade (less than 3 hours). Your garden’s microclimates—like the north side of your house or a fenced-in patio—can create wildly different light conditions just feet apart.
I’ll show you how to map these zones and pair them with the perfect plants.
Before you grab your shovel, test your yard’s sunlight. Spend a week marking how long different spots get light—especially in morning vs. afternoon.
Shadows shift with the seasons, so summer sun patterns may not match winter’s. My south-facing raised bed gets scorching afternoon sun in July but only 4 hours of light in December. Adjusting my plant choices for these shifts saved my winter greens from bolting.
Here’s the sunlight cheat sheet for common garden plants, organized by their needs:
Don’t assume your yard’s light stays constant. I once planted zucchini in a spot that seemed sunny in spring, only to watch them fade as nearby trees leafed out. Always observe for at least two weeks in each season to catch these changes.
Pro tip: Use a sunlight tracking app to log hours automatically—it’s saved me from costly mistakes.
Seasonal shifts matter too. In my Zone 6a climate, winter sunlight drops by nearly 50% compared to summer. That’s why I rotate crops: cool-season greens in winter and heat-loving tomatoes in summer. Your garden’s layout should account for these shifts—maybe place your winter garden where summer’s afternoon shade falls.
Even within a sunny spot, afternoon shade can make a difference. Plants like roses or peppers need morning sun but may scorch in hot afternoon rays. I solve this by placing them near structures that cast late-day shade.
A simple lattice trellis or permanent fence can create the perfect microclimate for heat-sensitive plants.
If your yard has limited sunlight, focus on shade-tolerant varieties and extend the season with reflective surfaces. White walls or gravel reflect light, boosting brightness by up to 30%.
My balcony garden gets only 2 hours of sun, but by using reflective pots and choosing dwarf varieties, I still grow basil and lettuce year-round.
Remember: More sun isn’t always better. Some plants, like hostas or calatheas, will crisp in full sun. I learned this the hard way when my hosta leaves turned brown after a summer heatwave. Always match the plant to the light—not the other way around.
Start small: Test a 10x10-foot area with different sunlight levels, then expand. My first garden was just a raised bed in full sun, but now I’ve got three microclimates—each with its own plant lineup.
With the right sunlight strategy, you’ll turn even tricky spots into productive garden real estate. 🌱☀️
Soil quality secrets: how to test and improve your garden’s foundation
Your garden’s success starts below the surface—healthy soil is the foundation for vibrant plants and bountiful harvests. Before you plant, take time to evaluate your soil’s drainage, pH balance, and nutrient content.
Skipping this step often leads to stunted growth, disease, or wasted effort. I’ve tested my own soil for years, and the difference between amended and unamended soil is night and day.
Testing soil is simpler than you think. A basic home soil test kit (available for $10–$20) checks pH and nutrient levels in minutes. For a deeper analysis, send samples to a local cooperative extension office—they often offer affordable testing.
My clay-heavy soil tested at a 6.2 pH before I added lime, and now my tomatoes thrive where they once struggled.
⚠️ callout-warning ⚠️
Many gardeners assume their soil is "fine" without testing. Clay soil can suffocate roots, while sandy soil drains too quickly. Even "loamy" soil may lack essential micronutrients. Test first—amend later! Skipping this step wastes time, money, and plants.
🌱 Pro Tip: Dig a 6-inch hole, fill it with water, and time how long it drains. Under 1 hour? Your soil may be too dense.
Start with a drainage test: Dig a 12-inch hole, fill it with water, and measure how long it takes to drain. Fast drainage (under 1 hour) signals sandy soil—add compost or peat moss to retain moisture. Slow drainage (over 6 hours) means clay soil—mix in perlite or coarse sand to improve airflow.
My neighbor’s rocky soil was fixed by spreading a 2-inch layer of composted leaves annually.
Next, adjust pH levels. Most vegetables prefer a 6.0–7.0 pH, while blueberries and azaleas thrive in acidic soil (4.5–5.5). Use lime to raise pH or sulfur to lower it.
I added pelletized lime to my acidic garden bed and saw 30% more tomatoes the next season. Always apply amendments 2–3 months before planting to let them integrate.
Boost nutrients with organic matter. Work in 2–4 inches of compost or well-rotted manure into the top 12 inches of soil. For quick fixes, use fish emulsion or seaweed extract for a nutrient kick.
My sandy soil now holds moisture better after I top-dressed with leaf mold last fall. Mulch with straw or wood chips to preserve moisture and feed the soil long-term.
Don’t overlook texture. Ideal garden soil is 40% mineral, 50% organic matter, and 10% air/water. If your soil feels gritty (sandy), mix in coco coir or peat moss. If it’s sticky when wet (clay), blend with composted bark or vermiculite.
I transformed my compacted urban soil into a thriving bed by adding biochar and worm castings—now my carrots grow straight instead of forking!
Remember, soil improvement is a long-term project. Test annually and amend as needed. My vegetable patch went from sparse to lush in two seasons by focusing on soil health first. Happy plants start with happy soil—so grab that test kit and get digging! 🌱