
Shrubs
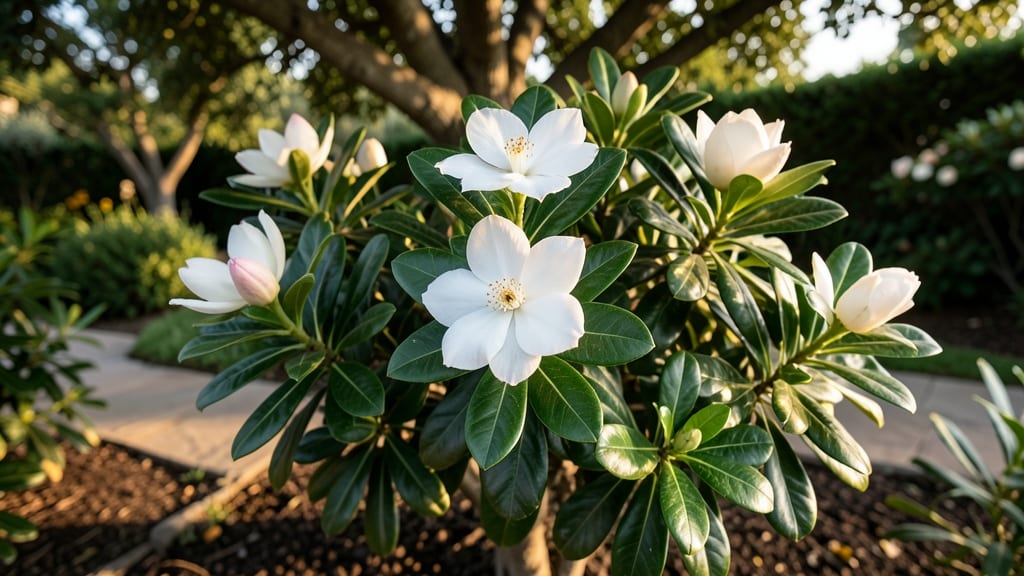
A full-grown gardenia 🌸 can transform your yard into a fragrant paradise—but only if you know the secrets to keeping it thriving.
Picture this: you’ve spent years nurturing your gardenia, and now it’s finally mature, but instead of the lush blooms and intoxicating scent you dreamed of, it’s struggling. The truth? Many gardeners miss the key details in pruning, watering, and soil care that make all the difference.
This isn’t just another shrub—it’s a diva that demands attention to detail. From the perfect time to prune for maximum blooms to the right balance of shade and sunlight, every choice impacts its health and fragrance.
In this guide, I’ll walk you through the exact steps to keep your gardenia flourishing year-round, so you can enjoy that signature sweet aroma for seasons to come.
When and how to prune full grown gardenia for maximum blooms
Pruning your full-grown gardenia isn’t just about shaping—it’s a science of encouragement. When done right, it triggers more abundant blooms and keeps your shrub lush and fragrant. The key lies in understanding when to prune and how to wield your shears for optimal results.
Gardenias bloom on new wood, meaning strategic cuts in the right season will signal your plant to produce even more of those creamy, intoxicating flowers.
Timing is everything with gardenias. Prune at the wrong time, and you risk stunting blooms or stressing the plant. The best window is late winter to early spring, just as new growth begins but before buds form.
This 3-4 week period gives your gardenia the head start it needs for a spectacular summer display. Avoid heavy pruning in fall or winter, as this can leave your plant vulnerable to cold damage and reduce next year’s blooms.
Before you begin, gather your tools. You’ll need sharp, clean pruners (sterilized with rubbing alcohol), garden shears for larger branches, and gloves to protect your hands from the plant’s mild irritants.
A disinfectant spray is also handy to prevent spreading disease between cuts. Pro tip: Sharpen your tools beforehand—dull blades crush stems, inviting infections and slowing healing.
Step-by-Step Pruning Guide for Full-Grown Gardenia
-
Step 1: Remove Dead or Diseased Wood
Start by inspecting your gardenia for dead, damaged, or diseased branches. Use your pruners to cut these out at the base of the branch, making a 45-degree angle to encourage faster healing.
-
Step 2: Thin Out Crowded Branches
Look for overlapping or crossing branches that rub against each other. These create entry points for pests and disease. Trim these back to the nearest outward-facing bud to improve airflow and sunlight penetration.
-
Step 3: Shape for Airflow and Light
Gardenias thrive with good circulation. Cut back overly dense areas to create an open, rounded shape. Avoid shearing large sections at once—this can shock the plant. Instead, prune gradually over 2-3 sessions.
-
Step 4: Encourage New Growth
To stimulate more blooms, focus on cutting back last year’s growth by about 1/3. Aim for healthy, green stems just above a leaf node or bud. This signals the plant to produce new, flowering branches.
-
Step 5: Clean Up and Disinfect
After pruning, sterilize your tools again and remove all clippings from the area. Leaving debris can attract fungal spores or pests. Dispose of trimmings in the trash—not the compost—to prevent spreading disease.
-
Step 6: Post-Pruning Care
Give your gardenia a light fertilizer (like a balanced 10-10-10) and deep watering after pruning. This helps it recover faster. Avoid heavy feeding immediately, as new growth is still vulnerable to stress.
One of the biggest mistakes gardeners make is pruning too late in the season. If you wait until summer or fall, your gardenia may not have enough time to harden off new growth before winter. This can lead to fewer blooms next year and weaker stems.
Another common error is over-pruning—cutting back more than 1/3 of the plant at once. This can shock the gardenia and reduce its ability to produce flowers.
For potted gardenias, follow the same rules but be mindful of root space. Pruning encourages new growth, which will need room to thrive. If your plant is root-bound, consider repotting it after pruning to give roots more space to expand.
Use a well-draining, acidic potting mix (pH 5.0-6.5) to keep your gardenia happy and blooming.
After pruning, monitor your gardenia closely for signs of stress, such as yellowing leaves or wilting. These can indicate over-pruning or improper timing. If you notice these issues, reduce watering slightly and provide light shade for a few weeks to help the plant recover.
With the right care, your gardenia will reward you with lush foliage and an abundance of fragrant blooms.
Pro tip: Label your pruning cuts if you’re experimenting with different techniques. This helps you track which methods work best for your specific gardenia variety. For example, some gardenias like ‘Kleim’s Hardy’ respond well to light annual pruning, while others may need more aggressive shaping.
Keep notes to refine your approach each year.
Remember, gardenias are sensitive to stress, so always prune with purpose and patience. The goal is to encourage health and blooms, not to drastically reshape the plant.
With these techniques, your full-grown gardenia will continue to be the fragrant star of your garden for years to come. 🌸
Optimal care routine for year-round gardenia fragrance beyond pruning
A full-grown gardenia demands consistent care beyond just pruning to maintain its signature creamy fragrance. The right balance of sunlight, soil pH, watering, and fertilization ensures continuous blooms. Let’s dive into the essentials that keep your gardenia thriving and fragrant all year.
Your gardenia’s light requirements are critical—too much sun scorches its leaves, while too little weakens its blooms. Aim for 4-6 hours of morning sunlight and afternoon shade.
This balance prevents leaf burn while supporting robust flower production. I’ve found east-facing windows or lightly shaded garden spots work best for my mature plants.
| Care Factor | Specification | Notes |
|---|---|---|
| Sunlight | 4-6 hours morning sun | Avoid harsh afternoon rays |
| Soil pH | 5.0-6.5 (acidic) | Test yearly with pH strips |
| Watering | Deep soak every 3-5 days | Morning watering preferred |
| Fertilizer | 10-10-10 or 8-3-9 | Apply every 6-8 weeks spring-fall |
| Soil Type | Well-draining, peat-based | Mix with perlite for aeration |
For soil health, gardenias crave acidic, well-draining soil with a pH between 5.0-6.5. I recommend mixing peat moss or compost into your garden bed to maintain acidity. If your soil tests higher, amend it with sulfur or pine needles.
Yellowing leaves often signal pH imbalance—a quick fix is applying an acid-loving plant fertilizer.
Watering is an art for gardenias—consistency is key. Water deeply every 3-5 days during warm months, ensuring the top 2 inches of soil stay moist. I water mine in the early morning to prevent fungal diseases.
Overwatering causes root rot, while underwatering leads to drooping leaves and sparse blooms. Adjust frequency based on your climate—container plants dry faster than in-ground shrubs.
Fertilization supports continuous fragrance and blooms. Use a balanced acid fertilizer (like 10-10-10) every 6-8 weeks during spring and summer. In fall, switch to a light feeding to prepare for dormancy.
I’ve noticed my gardenias reward me with heavier blooms when fertilized in early spring and mid-summer. Avoid winter feeding—your plant needs rest.
Troubleshoot common issues like yellow leaves (often chlorosis from high pH) or sparse blooms (usually nutrient deficiency). For pests, aphids or spider mites can disrupt fragrance. I spray affected plants with neem oil or introduce ladybugs for natural control. Regularly inspect leaves and buds to catch problems early.
With these care fundamentals, your full-grown gardenia will reward you with year-round fragrance. The secret lies in precision—monitor sunlight, soil, and watering closely. Your garden deserves that intoxicating scent all season long! 🌿