
How To
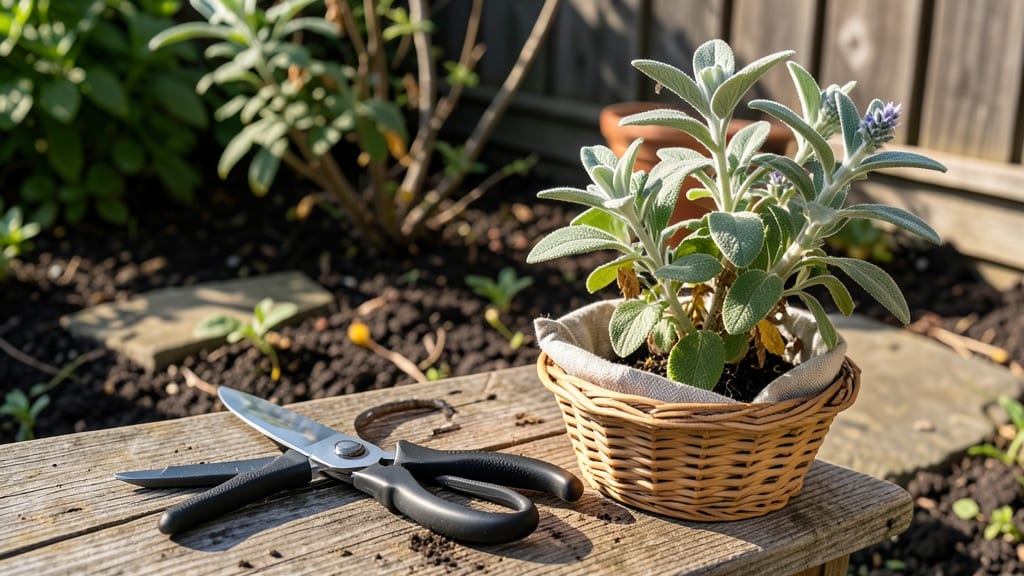
Harvesting garden sage at the right time ensures bold, aromatic leaves that elevate everything from stuffing to pasta 🌿 — and skipping the perfect window means sacrificing flavor or stressing your plant.
Fresh sage leaves can transform your cooking—if you know the perfect time to harvest them. Cut too early, and you’ll sacrifice flavor; wait too long, and your plant may suffer.
Most gardeners miss the ideal window because they don’t know when the leaves are at their peak. The secret? Harvesting just before flowering, when the oils that give sage its signature earthy taste are strongest.
In this guide, I’ll walk you through the exact steps to harvest sage without damaging the plant, how to store it for maximum freshness, and when to cut for the best flavor—so you can enjoy homegrown herbs all season long.
Best time of year to harvest sage for maximum flavor
Timing your sage harvest is everything when it comes to unlocking that bold, earthy flavor we all love. Sage plants mature at different rates depending on your climate zone and growing conditions, but the ideal harvest window always falls before flowering begins.
This ensures your leaves pack the most aromatic oils and vibrant green color.
In most regions, the prime harvest seasons for garden sage are late spring through early fall—specifically between May and September. However, cooler climates may push this window slightly later, while warmer zones can start harvesting as early as April.
The key is watching your plant's growth stages rather than relying solely on the calendar.
Comparison Table: Spring vs. Fall Harvest Windows
| Harvest Window | Ideal Growth Stage | Flavor Characteristics | Climate Considerations | Regrowth Potential |
|---|---|---|---|---|
| Late Spring (May) | Established foliage (6-12" tall) | Mild, fresh, slightly peppery | Warmer zones: USDA 8+ | Excellent (new growth encouraged) |
| Early Summer (June-July) | Peak foliage (before buds form) | Rich, robust, classic sage flavor | All zones with proper sunlight | Very good (vigorous regrowth) |
| Late Summer (August-Sept) | Mature leaves (just before flowering) | Intense, slightly bitter depth | Cooler zones: USDA 6-7 | Moderate (slower regrowth before frost) |
| Fall (October) | Final harvest before dormancy | Concentrated, woody undertones | Mild climates only (before hard frost) | Limited (prep for winter dormancy) |
For the absolute best flavor, aim to harvest sage when the leaves are fully developed but before any flower buds appear. This typically occurs when your plant reaches 12-18 inches tall and has a bushy, healthy appearance.
The leaves should feel firm and aromatic when gently crushed between your fingers—a sure sign they're ready for harvest.
In warmer climates (USDA zones 8+), you can extend your harvest season by 6-8 weeks compared to cooler regions.
My sage plants in Zone 7 often produce their most flavorful leaves in late July through early August, while those in Zone 9 can be harvested as late as October before the first frost.
One common mistake gardeners make is harvesting sage after flowering. Once those blue-purple blooms appear, the plant redirects its energy toward seed production, causing the leaves to become bitter and less aromatic. Always prioritize leaf harvests before flowers to maintain that classic sage flavor we all crave.
If you're growing sage in containers, the harvest timing remains similar, but you may need to be more vigilant about watering and sunlight to keep the plant healthy between harvests.
Container-grown sage tends to mature slightly faster than in-ground plants, so check for readiness 1-2 weeks earlier than your calendar suggests.
For year-round harvesting, consider growing sage indoors near a south-facing window or under grow lights. Indoor plants will produce less vigorous growth but can still yield flavorful leaves throughout winter if given proper care. Just remember to reduce watering in winter months when growth naturally slows.
Pro tip: If your sage plant looks overgrown or leggy by late summer, it's a sign you've missed the optimal harvest window. In this case, give it a light pruning to encourage new growth and plan for a smaller harvest the following season.
The key is consistent, timely harvesting throughout the growing season.
Step-by-step guide to harvesting sage without damaging the plant
Harvesting garden sage properly ensures your plant stays healthy and produces flavorful leaves for years. The key is timing and technique—cut too much or too often, and you risk stunting growth. I’ve learned that pruning shears work best for clean cuts, but your hands can work too for small batches.
Always aim for one-third of the plant at a time to avoid stress.
Start by selecting healthy stems with fully developed leaves. Avoid cutting into woody stems or flower buds, as this reduces future harvests. I recommend harvesting in the morning after dew dries—this gives leaves time to dry slightly and preserves their aromatic oils.
Never harvest after heavy rain, as wet leaves can develop mold.
✂️ Step-by-Step Harvesting Guide
- Step 1: Choose mature stems (6+ inches tall) with 3-4 leaf sets. Avoid cutting into woody bases.
- Step 2: Use clean pruning shears or your hands to make a 45-degree angle cut just above a leaf node.
- Step 3: Trim one-third of the plant max per harvest to encourage new growth.
- Step 4: Harvest regularly every 4-6 weeks during the growing season (spring-fall).
- Step 5: Remove any yellow or damaged leaves immediately to prevent disease.
- Step 6: After harvesting, water deeply and apply balanced fertilizer (10-10-10) to support regrowth.
After harvesting, rinse leaves gently if needed, then pat them dry with a paper towel. Store them in a paper bag in the fridge for up to a week, or dry them for long-term use.
I’ve found that hanging bundles upside-down in a dark, dry place works best for drying. Never skip post-harvest care—your sage plant will thank you with bushier growth next season.
One common mistake I see is over-harvesting in early spring. Your sage needs time to establish roots before you take too much.
If your plant looks stressed (drooping or sparse), scale back and wait until it recovers. Young plants (first year) should only have small prunings—never more than 10% of the foliage.
For container-grown sage, the same rules apply, but be extra cautious—root space is limited. I’ve had success with dwarf varieties like ‘Berggarten,’ which tolerate more frequent trimming. Always check the soil moisture before harvesting; dry soil can make leaves less flavorful and more prone to damage.
Pro tip: Label your sage plants if you have multiple varieties. Some, like golden sage, have delicate leaves that bruise easily. Handle them with care! With the right technique, your sage harvests will keep coming back stronger each year.