
Tools
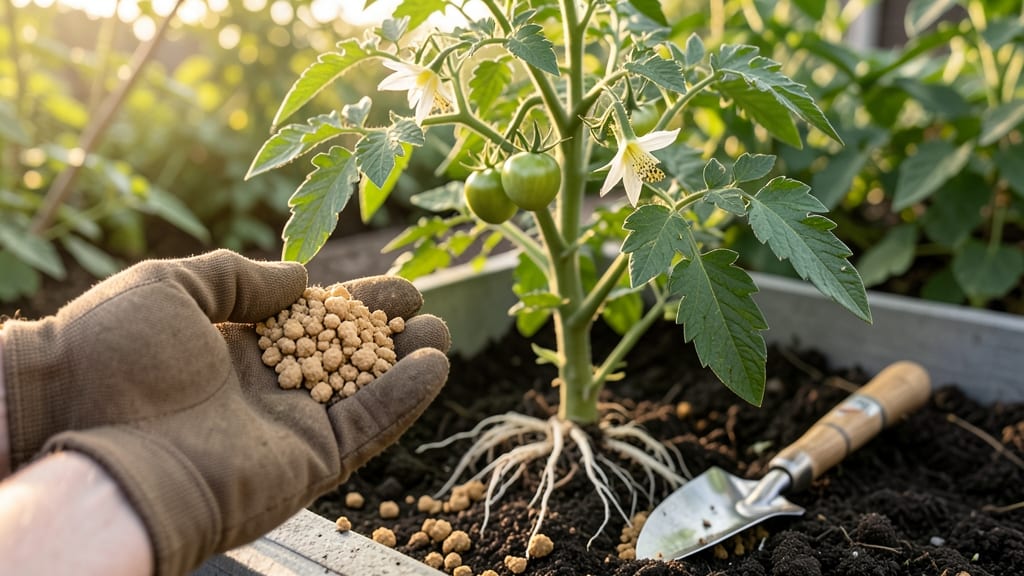
How to use bone meal in your garden is the fastest way to supercharge root growth and blooms with a phosphorus punch 🌱 — but timing and application make all the difference.
Picture this: you’ve spent weeks nurturing seedlings, only to watch them struggle with weak stems or sparse flowers. Bone meal could be the missing link, but overdo it, and you’ll burn your plants instead of boosting them.
The key is knowing when to apply it, how much to use, and which plants will respond best.
This guide breaks down the science behind bone meal—why it works, how to mix it into your soil without overdoing it, and the best times to feed your General Garden Plants for maximum impact.
Whether you’re prepping for spring planting or reviving mid-season blooms, you’ll learn the exact steps to avoid common mistakes and get fast, reliable results.
From comparing it to other organic fertilizers to troubleshooting overuse, we’ll cover everything you need to turn bone meal into your garden’s secret weapon—without the guesswork.
When and how to apply bone meal for maximum root and flower growth
Bone meal is a powerhouse for gardeners looking to boost root development and flower production. This organic fertilizer is packed with phosphorus, the middle number in NPK, which plants crave during critical growth stages.
Unlike slow-release compost, bone meal delivers a quick nutrient punch—perfect for seedlings, bulbs, and flowering plants. But timing and application matter just as much as the product itself.
Most gardeners make the mistake of applying bone meal at the wrong time, leading to wasted nutrients or even plant stress. The key is understanding when your plants need phosphorus most.
For vegetables like tomatoes and peppers, mid-season application supports fruit set. For flowers, a pre-planting boost ensures vibrant blooms. Let’s break down the best practices to maximize results without overdoing it.
⚠️ NON-NEGOTIABLE: Always mix bone meal into the soil—never apply it on top. Surface application can burn plant roots and attract pests. The goal is to create a phosphorus-rich zone where roots can access nutrients as they grow.
🌱 SUMMARY-TABLE:
| Plant Type | Best Time to Apply | Application Rate | Soil Mixing Depth |
|---|---|---|---|
| Vegetables (Tomatoes, Peppers) | 2-4 weeks before planting or mid-season | 1 tbsp per plant or 1 cup per 10 sq ft | 6-8 inches deep |
| Flowers (Roses, Petunias) | Early spring or fall for root growth | 2 tbsp per plant or 1.5 cups per 10 sq ft | 4-6 inches deep |
| Fruits (Strawberries, Blueberries) | Fall (6-8 weeks before frost) | 1.5 tbsp per plant or 2 cups per 10 sq ft | 3-4 inches deep |
| Seedlings (Herbs, Annuals) | At transplanting (mix into soil) | ½ tsp per seedling | 2-3 inches deep |
| Bulbs (Tulips, Dahlias) | Fall (6 weeks before frost) | 1 tbsp per bulb | 4-6 inches deep |
For vegetables, timing is everything. Apply bone meal 2-4 weeks before planting to give roots a head start. Mid-season applications (when flowers appear) help fruit development. For example, tomatoes benefit from a second dose when they start flowering—this ensures heavy fruit set.
Always water thoroughly after application to activate the nutrients and prevent root burn.
When working with flowers, early spring or fall is ideal. This timing supports root establishment before the main growing season. For roses, mix bone meal into the soil at planting, then top-dress lightly in early spring.
Avoid applying it too close to blooming time, as excess phosphorus can lead to leafy growth over flowers. Always pair bone meal with a balanced fertilizer to avoid nutrient imbalances.
For fruit-bearing plants like strawberries and blueberries, fall application is key. The nutrients release slowly over winter, giving plants a phosphorus boost when they need it most in spring.
Spread bone meal around the drip line (the area where water drips from leaves) and lightly scratch it into the top inch of soil. This method mimics natural nutrient release and reduces waste.
One of the biggest mistakes gardeners make is overapplying bone meal. Too much phosphorus can lock out other nutrients, like nitrogen and potassium, leading to stunted growth.
Stick to the recommended rates and avoid using bone meal more than once per season unless your soil test indicates a deficiency. Always conduct a soil test before applying to avoid guesswork.
If you’re working in containers, reduce the amount by half. Potted plants have limited soil volume, so a ½ tsp per plant is plenty. Mix it into the top 2-3 inches of soil at planting time.
For large garden beds, use a broadcast spreader to evenly distribute bone meal, then till it into the soil to a depth of 4-6 inches. This ensures even nutrient distribution and prevents surface buildup.
Remember, bone meal is a fast-acting fertilizer, but its effects are short-lived. Plan your applications around your plants’ highest phosphorus needs. For most gardeners, this means spring planting and mid-summer flowering.
Pair it with compost or organic matter to create a sustained nutrient release throughout the growing season. This combo keeps your plants thriving without the risk of over-fertilization.
Finally, store bone meal in a cool, dry place to prevent clumping. If it absorbs
5 Common mistakes to avoid when using bone meal in your garden
Bone meal is a powerhouse for root development and flowering plants, but even the best fertilizers can backfire if misused. I’ve seen gardeners accidentally burn their plants or lock out nutrients by making simple mistakes. Let’s fix that with these critical lessons I’ve learned over years of gardening.
First, many gardeners overapply bone meal thinking more equals better. But phosphorus buildup can harm plants by disrupting nitrogen uptake. A 1 tablespoon per plant or 1 cup per 10 sq ft is plenty for most garden beds.
Too much can leave your soil saturated and plants struggling to access other nutrients.
⚠️ callout-warning ⚠️
✖️ Never apply more than 1 cup per 10 sq ft—excess phosphorus can cause nutrient lockout and stunted growth in plants like tomatoes and roses.
✖️ Test soil pH first—bone meal works best in slightly acidic soil (pH 6.0-7.0). If your soil is alkaline, phosphorus becomes unavailable.
✔️ Mix thoroughly into top 2-3 inches of soil—surface application leads to root burn and uneven nutrient distribution.
Another frequent error is applying bone meal at the wrong time. This fertilizer is best used 2-4 weeks before planting or when you notice new flower buds forming.
If you add it too late in the season, plants may not have time to utilize the phosphorus before dormancy sets in. For example, tomatoes benefit from early application, while roses need it just before their blooming phase.
Many gardeners also ignore plant-specific needs. Bone meal isn’t a one-size-fits-all solution. Leafy greens like lettuce and spinach don’t need extra phosphorus—they thrive on nitrogen. Over-fertilizing them with bone meal can lead to bitter leaves and poor growth.
Instead, save bone meal for root crops (carrots, beets) and flowering plants (petunias, dahlias).
Improper mixing is another silent killer. Simply scattering bone meal on the soil surface won’t do the trick. You must work it into the top 2-3 inches of soil to prevent root burn.
I’ve seen gardeners sprinkle it around established plants, only to watch their roots wither. For container gardens, mix it into the potting soil before planting—never add it later.
Finally, some gardeners forget to balance bone meal with other nutrients. While phosphorus is crucial for roots and flowers, your plants still need nitrogen for leaves and potassium for fruit development.
Use bone meal as part of a balanced fertilizer routine, not as a standalone solution. Rotate it with compost or a 10-10-10 NPK fertilizer to keep your soil healthy.
By avoiding these mistakes, you’ll unlock bone meal’s full potential without risking plant damage. Start with small amounts, time your applications carefully, and always match the fertilizer to your plants’ needs. Your garden will thank you with stronger roots and bigger blooms! 🌷