
Tools
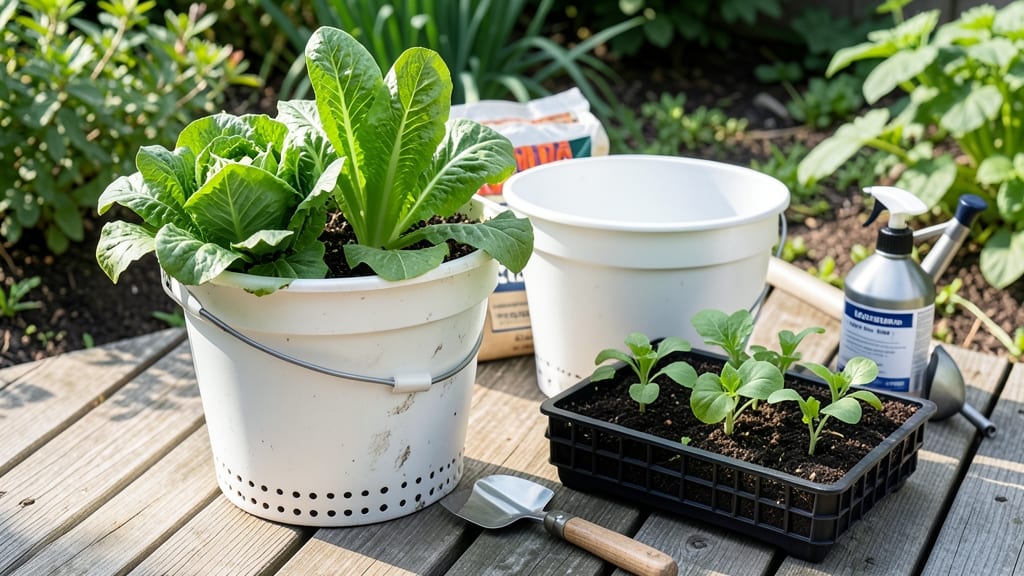
Learning bucket gardening 101 opens up a world where you can grow fresh produce, herbs, or even small fruit trees without needing a yard or garden plot.
Imagine growing fresh herbs, veggies, or even small fruit trees without needing a backyard—bucket gardening makes it possible, even in tiny urban spaces or balconies. No soil? No problem.
No space? No issue. This method is perfect for renters, city dwellers, and anyone who wants to grow their own food but lacks a traditional garden.
With just a few basic supplies—like containers, soil, and drainage—you can start growing plants that thrive in small spaces. Whether you're a beginner or just looking for a more efficient way to garden, bucket gardening offers a flexible, low-maintenance solution that fits almost anywhere.
In this guide, I’ll walk you through the essentials: what you need, how to set up your buckets, which plants grow best, and how to keep them healthy all season long. By the end, you’ll have everything you need to start your own mini garden—no green thumb required!
Bucket gardening basics: what you need to start growing
Bucket gardening is one of the most accessible ways to grow plants, whether you live in an apartment or have a tiny balcony. All you need are a few essential supplies and some creativity to turn ordinary containers into thriving gardens.
The best part? You can repurpose items you already have at home, saving money and reducing waste.
Before diving in, let's focus on the core components every bucket garden needs: containers with drainage, quality soil, and the right plants for your space. I'll also share my favorite household hacks for containers—because gardening doesn't have to be expensive to be effective.
🌱
| Category | Essential Details | Pro Tips |
|---|---|---|
| Containers | 5-gallon buckets, fabric grow bags, or repurposed pots with drainage holes | Drill holes in bottoms if missing; use old milk jugs for herbs |
| Soil Mix | High-quality potting soil + compost (60/40 ratio) | Add perlite for drainage; avoid garden soil (compacts easily) |
| Drainage | Essential to prevent root rot; use gravel or broken pots | Place containers on saucers to catch excess water |
| Beginner Plants | Herbs (basil, parsley), lettuce, cherry tomatoes, peppers, strawberries | Start with compact varieties; avoid large root systems |
| Fertilizer | Balanced 10-10-10 or organic compost tea | Feed every 4-6 weeks during growing season |
| Watering | Deep watering 2-3x weekly; adjust for weather | Water in morning to reduce evaporation and fungal risk |
One of my favorite bucket gardening hacks is using old plastic containers—like milk jugs or yogurt tubs—for herbs. Simply cut drainage holes in the bottom, add a layer of pebbles, and fill with soil. These containers are lightweight, perfect for windowsills, and take up almost no space.
For larger plants like cherry tomatoes or peppers, a 5-gallon bucket works wonders. Just make sure to drill drainage holes if they don't exist, and consider adding a trellis for vining plants. I've even seen gardeners use old wheelbarrows or plastic storage bins lined with landscape fabric for multi-plant setups.
When selecting plants, prioritize compact varieties that thrive in containers. Herbs like basil and parsley grow beautifully in small spaces, while lettuce and spinach can be harvested multiple times. For something more rewarding, try strawberries—they're perfect for hanging buckets and produce fruit all season long.
Don't overlook the importance of proper soil. Regular garden soil compacts easily in containers and can suffocate roots. Instead, use a mix of potting soil and compost (about 60% soil, 40% compost) to ensure good drainage while retaining moisture.
Adding a handful of perlite or vermiculite helps prevent soil from becoming too dense.
Finally, remember that drainage is non-negotiable. Without it, your plants will suffer from root rot. If your container lacks holes, drill them yourself or place a layer of gravel or broken pots at the bottom before adding soil.
For extra insurance, elevate your containers on feet or bricks to improve airflow around the roots.
With these basics covered, you're ready to transform any space—no matter how small—into a productive garden. The key is starting simple, experimenting with what works, and enjoying the process of watching your plants grow from tiny seeds to thriving harvests.
🌿
Step-by-step bucket gardening setup for maximum plant health
Bucket gardening transforms simple containers into thriving mini-gardens, but the secret lies in proper setup. Without the right foundation, even the hardiest plants struggle. I’ve learned that drainage, soil quality, and nutrient balance are non-negotiable for healthy roots and lush growth.
Let’s break down how to prepare your buckets like a pro.
First, choose containers with drainage holes—this prevents root rot and ensures excess water escapes. Plastic buckets, fabric grow bags, or even repurposed food-grade containers work perfectly. If your bucket lacks holes, drill them yourself using a 1/4-inch bit near the bottom.
Pro tip: Place a caffeine filter or mesh over the holes to keep soil in while allowing water out.
Bucket Gardening Setup Checklist
-
Step 1: Clean & Prep Containers
Wash buckets with soapy water and rinse thoroughly. Sanitize with a 1:10 bleach-water mix (rinse well) to kill bacteria. Let dry completely in sunlight for 24 hours.
-
Step 2: Layer Drainage Material
Add 1-2 inches of gravel or perlite at the bottom. This improves airflow and prevents clogging. For heavier plants like tomatoes, use 3 inches of drainage material.
-
Step 3: Mix Soil for Optimal Growth
Combine 60% potting soil, 30% compost, and 10% perlite or vermiculite. Avoid garden soil—it compacts and blocks drainage. For herbs, add a handful of sand to improve texture.
-
Step 4: Add Slow-Release Fertilizer
Sprinkle 1 tbsp of 10-10-10 fertilizer per 5-gallon bucket into the soil mix. For veggies, use organic worm castings instead. Mix gently to distribute evenly.
-
Step 5: Plant with Care
Dig a hole twice as wide as the root ball. Place the plant, ensuring the soil line matches the bucket’s rim. Fill gaps with soil and press lightly to remove air pockets.
-
Step 6: Water Thoroughly
Water until water drains freely from the holes. Repeat until soil is moist but not soggy. Avoid overhead watering—use a watering can with a spout to direct water to the roots.
-
Step 7: Mulch & Protect
Top with 1 inch of mulch (straw or shredded leaves) to retain moisture and suppress weeds. Place buckets in a sunny spot with 6+ hours of light daily.
After planting, monitor your buckets closely. Overwatering is a common mistake—containers dry out faster than garden beds. Stick your finger 1 inch into the soil; if it’s dry, water deeply. For herbs like basil, I’ve found that misting leaves in the morning mimics natural dew and boosts flavor.
One trick I swear by? Adding a handful of coffee grounds to the soil mix for acid-loving plants like blueberries or peppers. The grounds also repel pests naturally. Just avoid overdoing it—too much can make the soil too acidic. Balance is key, just like in any great garden setup.
With these steps, your bucket garden will thrive year after year. The beauty of container gardening is its adaptability—whether you’re growing cherry tomatoes on a balcony or strawberries in a hanging bucket, the principles stay the same. Happy growing! 🪴