
Picking
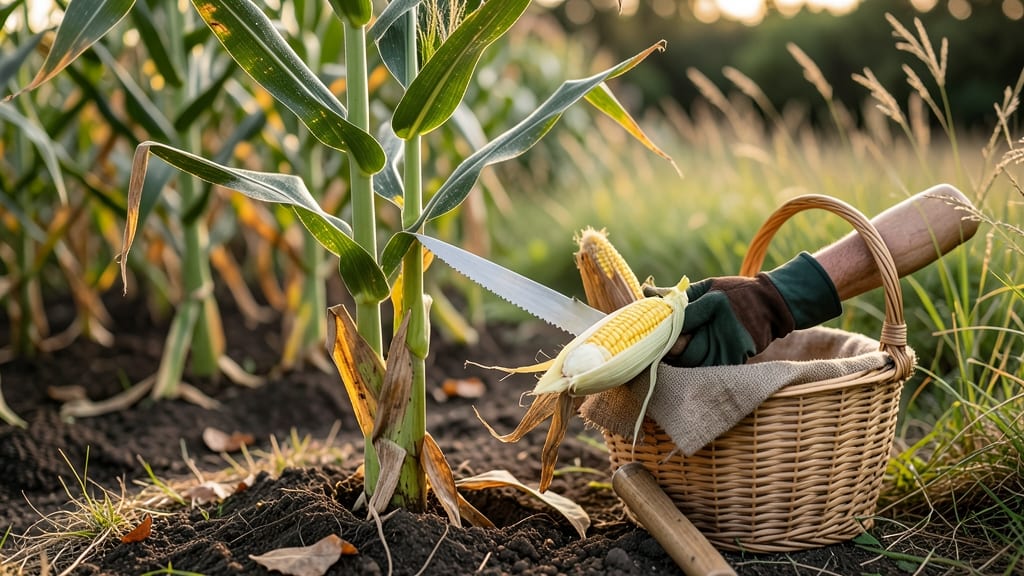
Picking corn from your garden at the right time turns a simple harvest into a flavor explosion—because one day too late means tough, starchy kernels instead of sweet perfection.
Most gardeners guess based on days after planting, but the truth is simpler: your corn’s silk, kernels, and husks send clear signals when it’s time to pull. Miss these cues, and you’ll end up with ears that taste more like a dry football than a juicy bite.
Here’s how to use three quick, no-tools tests—checking the silk, the kernel, and the husl—to pinpoint the exact moment your 🌽 corn is at its peak. No more second-guessing, no more wasted ears, just perfectly sweet corn every time.
Ready to learn the 3 tactile tricks that’ll make you the corn-harvesting pro in your neighborhood? Let’s dive in.
3 Tactile tests to determine when to pick sweet corn
There’s nothing like biting into a perfectly ripe ear of sweet corn straight from your garden—but timing is everything. Harvest too early, and you’ll get underdeveloped kernels. Wait too long, and those sweet flavors turn starchy and tough.
The key? Using these three tactile tests to confirm peak ripeness before you pick. These simple checks rely on what you can see, feel, and even hear to guide you.
First, let’s talk about the milk stage, the golden rule for sweet corn. When kernels are at their peak, they’ll release a milky liquid when pierced with your thumbnail. This isn’t just a myth—it’s science!
The starch-to-sugar ratio is perfect at this stage, delivering that classic sweet corn flavor we all love. But how do you know for sure? That’s where the tactile tests come in.
🌽 3 Tactile Tests for Perfect Corn
- 1. Milk Stage Test: Pierce a kernel with your thumbnail. If a milky liquid (not clear or hard) oozes out, it’s ready. If it’s clear, wait 1-2 days; if hard, it’s past prime.
- 2. Silk Drying Test: The silks should turn brown and crispy. If they’re still green or moist, the ear isn’t fully developed. Give it 2-3 more days.
- 3. Husk Leaf Test: Gently pull back the outer husk leaves. If they peel back easily and the ear feels heavy for its size, it’s ready. Resistant husks mean it needs more time.
Pro Tip: Combine all three tests for 100% accuracy. One test alone isn’t enough!
Let’s dive deeper into the milk stage test, the most reliable indicator of sweetness. When you press your thumbnail into a kernel, you’re checking its internal moisture and sugar content.
A milky liquid means the starches inside the kernel are converting into sugars, which is exactly what you want for that sweet, juicy bite. If the kernel feels hard or releases a clear liquid, it’s past its prime and will taste starchy.
This test works best on the middle kernels of the ear, as they tend to ripen first.
Next up is the silk drying test, a visual and tactile cue that tells you whether pollination was successful and the ear is maturing. When the silks first appear, they’re bright green and moist. As the corn develops, they gradually dry out and turn brown.
By the time they’re crispy and brittle, the ear is typically ready to harvest. Pay attention to the consistency—if some silks are still green while others are brown, the ear might be unevenly ripened. In this case, wait another day or two to ensure uniformity.
The husk leaf test is often overlooked but is incredibly useful for determining whether the ear is fully developed. Start by gently peeling back the outer husk leaves. If they separate easily and reveal a plump, firm ear, you’re in business.
The husks should also feel slightly dry and papery, not sticky or wet. A heavy ear is another good sign—it indicates the kernels are fully hydrated and packed with flavor. If the husks resist or the ear feels light, it needs more time on the stalk.
Timing is everything, and these tests work best when used together. For example, you might see brown silks but find the kernels still hard when you press them. This discrepancy often happens in hot, dry weather, which can speed up silk drying while slowing kernel development.
In such cases, prioritize the milk stage test, as it directly measures the sweetness you’re after. If you’re unsure, harvest a few ears and test them—you can always cook with slightly underripe corn, but overripe corn is nearly impossible to salvage.
One common mistake gardeners make is relying solely on days to maturity listed on seed packets. While these timelines give you a general idea, they don’t account for your specific growing conditions—like soil temperature, rainfall, or even the variety of corn you’re growing.
That’s why tactile tests are so valuable. They give you real-time feedback based on the actual conditions in your garden, not just a theoretical timeline. For instance, heirloom varieties often take longer to ripen than hybrids, so don’t rush the process.
To make these tests even easier, I recommend harvesting in the morning when temperatures are cooler. This helps preserve the corn’s sweetness and makes it easier to assess the husks and kernels without the heat of the day affecting your judgment.
Store freshly picked corn in the refrigerator for up to a week, or blanch and freeze it to lock in that garden-fresh flavor for months.
And if you’re growing multiple varieties, keep a small notebook nearby to track which ears pass each test first—this helps you stay organized and ensures you don’t miss peak ripeness.
Finally, don’t forget to rotate your corn plants as you harvest. This encourages the remaining ears to mature evenly and prevents disease by improving air circulation.
And if you’re growing corn in containers or small spaces, choose shorter varieties like ‘Bodacious’ or ‘Silver Queen,’ which are easier to manage and still deliver that perfect sweetness when harvested at the right time.
With these tactile tests in your toolkit, you’ll be picking corn like a pro in no time!
How long after pollination is corn ready to harvest?
Understanding the corn pollination timeline is key to harvesting sweet, tender ears. Pollination begins when silks emerge from the husks, signaling the start of a 12-18 day ripening window. Hybrid varieties typically mature faster—around 14-16 days—while heirloom types may take 18-21 days to reach peak sweetness.
Environmental factors like heat and humidity can drastically alter this timeline. Hot, dry conditions speed up ripening, while cool, damp weather delays maturity.
For example, in 90°F+ temperatures, corn may be ready in just 10-12 days after silk appearance, whereas 60°F+ nights can stretch the process to 20+ days.
🌽
| Stage | Days After Pollination | Key Signs | Harvest Window |
|---|---|---|---|
| Silk Appearance | Day 0 | Green, moist silks emerge | Not ready |
| Early Kernel Fill | 7-10 days | Silks turn brown; kernels translucent | Not ideal |
| Peak Sweetness | 12-18 days | Silks crispy; kernels milky-white | Harvest now! |
| Late Stage | 20+ days | Silks dry; kernels hard/starchy | Past prime |
For heirloom varieties, pay close attention to kernel color. Many heirlooms develop deep amber or red hues at peak sweetness, while hybrids stay milky-white. If you’re growing bicolor corn, look for even color distribution—uneven coloring signals uneven ripening.
Humidity also plays a role: High humidity (70%+) can cause ear rot if harvest is delayed, while low humidity (30% or less) may lead to dry, tough kernels. In humid climates, harvest 2-3 days earlier than the timeline suggests to avoid spoilage.
Pro tip: Test kernels daily starting 10 days after silk appearance. Pierce a kernel with your fingernail—if it’s milky, it’s ready; if clear, wait another day; if hard, it’s past its prime. This simple test beats guessing!
☀️