
Picking
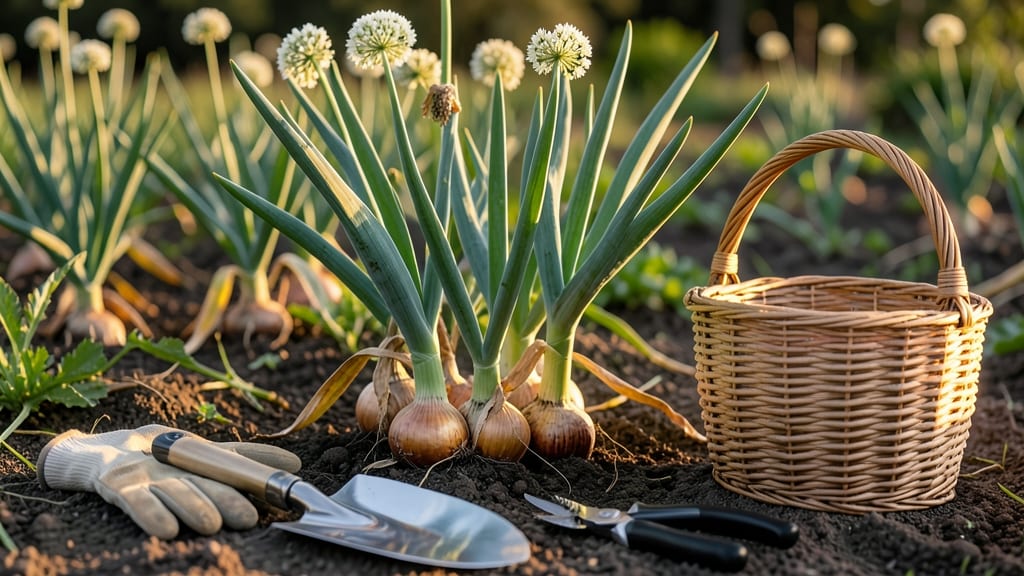
Pick onions from your garden when their tops yellow and fall over, signaling peak flavor and storage readiness.
Picking onions at the wrong time can mean the difference between sweet, flavorful harvests and tough, bitter bulbs—so knowing the exact moment to pull them is key to gardening success.
If you wait too long, they’ll split or rot; harvest too early, and you’ll end up with small, pungent bulbs that won’t store well. The right timing ensures you get the best of both worlds: great taste and long-term usability.
Look for three clear signs: the tops turning yellow and drying out, bulbs that feel firm when gently squeezed, and a tight neck where the stem meets the bulb.
These visual cues tell you the onions are ready to pull, but climate plays a role too—dry weather speeds up ripening, while rain can delay it. Miss these markers, and you risk wasting your hard work.
In this guide, I’ll break down the exact visual cues to watch for, common mistakes to avoid, and how to cure and store your harvest for months to come. By the end, you’ll know exactly when to pull those 🧅 for the best results.
3 Visual cues to identify perfectly ripe onions in your garden
Knowing exactly when to pick onions from your garden ensures you get the best flavor and storage life. Unlike many vegetables, onions don’t ripen after picking, so timing is everything. If you harvest too early, you’ll get small, pungent bulbs.
Wait too long, and they’ll split or become tough. The secret lies in three key visual cues that signal your onions are ready for harvest.
First, focus on the leaf color. Healthy green tops mean your onions need more time, but when the outer leaves turn yellow and start drying, it’s a clear sign your bulbs are maturing.
This change usually happens about 90-120 days after planting, depending on your variety. For example, storage onions like Yellow Sweet Spanish will show this yellowing first, while shorter-day varieties might take longer.
Next, examine the bulb size and firmness. A perfectly ripe onion bulb should feel firm and round when gently squeezed. If it’s still soft or small, it needs more time in the ground.
Think of it like testing a ripe tomato—just enough give to know it’s mature, but not mushy. Pro tip: Dig up one bulb to check its size. If it’s about 2-3 inches in diameter, it’s likely ready, especially for storage varieties.
Finally, look for neck shrinkage. The neck is the narrow part where the bulb meets the stem. When onions are ready, this area will tighten and develop papery skin.
This is nature’s way of telling you the bulb has stopped growing upward and is now focusing on swelling outward. If you see this, it’s time to harvest before the neck dries out completely, which can make storage difficult.
To confirm your onions are truly ready, perform a simple readiness test. Gently pull one bulb from the soil. If it slides out easily with minimal resistance, it’s perfect for harvesting. If it feels loose or the bulb is still small, wait a few more days.
This test works best in dry, warm weather, as wet soil can make bulbs slip out prematurely, leading to poor storage quality.
Once you’ve confirmed all three cues—yellowing tops, firm bulbs, and tight necks—it’s time to harvest. Use a garden fork to loosen the soil around the bulb, then grasp the base and pull gently.
Avoid cutting the tops, as this can reduce storage life. Instead, leave about 1 inch of stem attached to help the bulb cure properly after harvest.
After harvesting, let the onions cure in a dry, shady spot for 1-2 weeks. This process toughens the skin and improves storage life. Place them in a single layer on a screen or mesh, away from direct sunlight.
Once fully cured, trim the roots and tops, then store in a cool, dark place with good airflow, like a mesh bag or ventilated container.
If you miss the perfect window and your onions start to split or sprout, don’t despair. Smaller bulbs can still be used fresh, while sprouting onions can be replanted for next year’s harvest.
The key is to act quickly when you see those yellowing leaves and firm bulbs—your future meals will thank you!
Remember, the earlier you harvest, the milder the flavor. Storage onions like Yellow Granex or Sweet Spanish develop their best taste when left in the ground a little longer, while green onions or scallions should be harvested young and tender.
Pay attention to these visual cues, and you’ll always know when your onions are at their peak.
Onion harvesting mistakes that ruin your bulbs (and how to avoid them)
Even the most patient gardeners can fall victim to common onion harvesting mistakes that turn sweet, flavorful bulbs into tough, pungent disappointments. The key lies in timing, technique, and post-harvest care—all areas where small errors can lead to big losses.
I’ve learned the hard way that rushing or waiting too long can ruin your entire crop, so let’s fix these mistakes before they happen.
One of the biggest blunders is harvesting onions in wet weather. Rain-soaked bulbs are prone to rot and mold, making them unusable. Another critical error is pulling onions too early, which results in small, underdeveloped bulbs that lack flavor and storage potential.
Even experienced gardeners often overlook the importance of proper curing, a step that preserves quality and extends shelf life.
⚠️ Warning: The #1 Mistake That Ruins Onions
Harvesting in rain or when soil is damp creates the perfect conditions for fungal diseases like mold and rot. Always wait for a dry, sunny day to pull onions—this ensures clean bulbs and proper curing. If you’ve already harvested in wet conditions, don’t panic: spread them out to dry immediately and avoid storing them until fully cured.
Another common mistake is waiting too long to harvest. Overripe onions split open, exposing the flesh to pests and decay. The ideal time to harvest is when the tops turn yellow-brown and begin to flop over, but before they fully dry out.
If you miss this window, you’ll end up with bulbs that are either too small or too shriveled to use.
Improper curing is the silent killer of onion storage life. Many gardeners skip this step entirely, assuming onions are ready to store as soon as they’re pulled. But curing—letting onions dry in a well-ventilated, shaded area for 1-2 weeks—strengthens their skins and prevents spoilage.
Without it, onions will shrivel or rot within weeks. My trick? Lay them in a single layer on a mesh rack or hang them in small bundles.
If you’ve already made one of these mistakes, don’t throw out your harvest just yet. For underripe onions, you can replant them in a pot and let them mature further. For overripe or split bulbs, use them immediately in cooking or preserve them by pickling or freezing.
And if your onions are damp after harvesting, place them in a cool, dry spot with good airflow to speed up drying.
To avoid future mistakes, mark your calendar for late summer to early fall—the ideal harvest window for most onion varieties. Check bulbs weekly for readiness, and always harvest in the morning when temperatures are cooler.
With these fixes, you’ll go from frustrated gardener to onion harvest pro in no time! 🧅